Melodyne isn’t just about pitch correction, but level correction as well
Melodyne’s Assistant, Editor, and Studio versions have a Volume Adjust tool that can adjust levels visually for recorded tracks (note that the Essential/Singletrack version doesn’t have this tool). This feature comes in very handy with vocals, because you can create more consistent dynamics without having to use processes that can alter the sound, like compression or limiting. With this technique, we’re simply varying the volume, as if we were altering a fader while mixing.
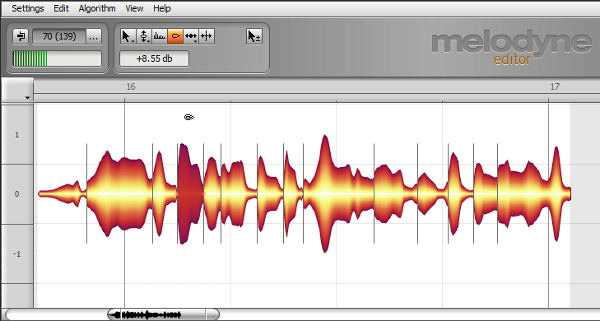
Choose the track whose levels you want to adjust, open Melodyne’s editing window, and choose the Percussive mode. In this mode, as shown in the image above, all the blobs are arranged linearly, regardless of pitch.
Choose the Amplitude tool, and click on a blob—conveniently, Melodyne will have already split the clip in pretty much all the strategic places you want it split. Drag up to increase volume, or drag down to decrease. You’ll also be able to hear an abstract representation of the blob you’re modifying, which simplifies identifying plosives and other vocal artifacts.
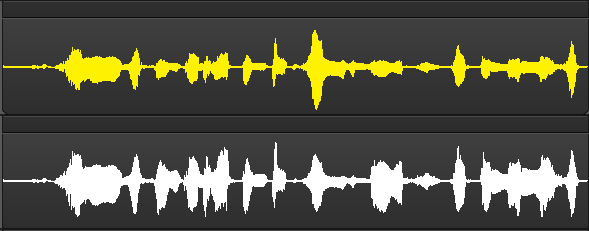
Fig. 1 shows the before-and-after results of processing a vocal performance. The top waveform is the original vocal, while the lower waveform shows the results of using Melodyne to even out levels. The performance is now much more consistent. If you decide to add dynamics processing like compression or limiting, you now won’t need anywhere near as much processing because Melodyne will have already done a lot of the work for you.