Can’t access your hard drive because you can’t remove write protection? There’s hope…
When your computer isn’t working properly, it’s pretty annoying. Fortunately, many times keeping a cool head will get you out of trouble and back to work again in minutes instead of hours—particularly if you panic and go down the wrong path, which could even make matters worse.
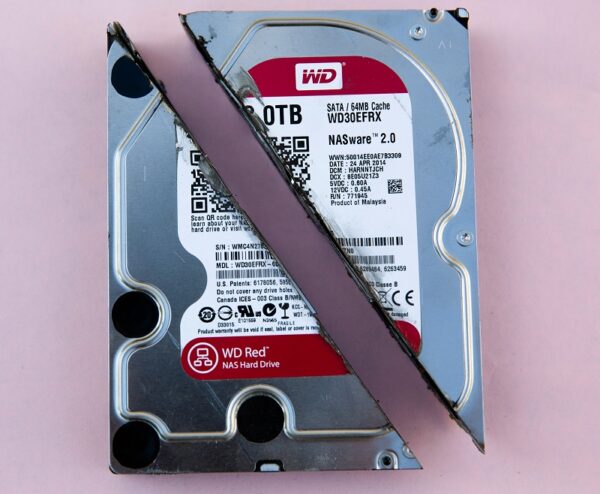
One of my less favorite Windows “features” is when it won’t let you write to a hard drive because it says the drive is write-protected, or gives some other error message like not letting you drag a file from the desktop to the disk. This happens mostly with USB drives, and I suspect is has to do with not ejecting it properly (or the computer thinking you didn’t eject it properly). But don’t give up and cut your drive in half out of frustration! Just follow this handy tip.
I can’t tell you how many hours I rummaged through the drive’s “Security” tab trying to figure out what permissions weren’t being granted before finding out that there’s an easy fix. Note that to do this, you need to have administrator privileges. (Note: Although this tip assumes Windows 10, it works with previous versions.)

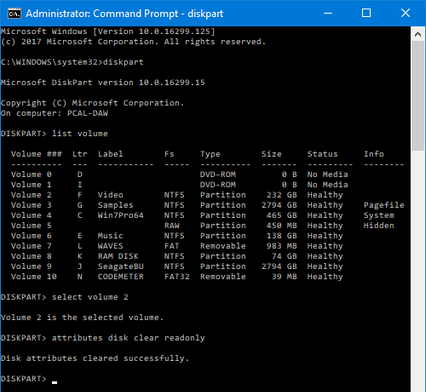
- Click in the Search field button, and type CMD.EXE in the search box. When “Command Prompt desktop app” appears, right-click on it and choose “Run as administrator.”
- Type diskpart then press enter (note: what you need to type is bolded for clarity).
- After the DISKPART> prompt appears, type list volume and then press enter.
- You’ll see a list of your drives, each with a number. Type select volume # where # is the number of the drive giving you problems, and then press enter.
- After the DISKPART> prompt appears, type attributes disk clear readonly and then press enter.
When you see “Disk attributes cleared successfully,” you’re done! Close the command prompt box, and now your formerly locked drive will be ready to accept your precious data.
Photo by Markus Spiske
