These simple tips will speed up your workflow and efficiency
1. Always start the mixing process by creating a Mix Recall scene, just in case you ever need to get back to your starting point.
2. You can step through a tool’s options by hitting Function keys F8-F10 repeatedly. For example, hitting F10 toggles between erase and mute, while F9 toggles among the various drawing choices.
3. It’s easy to cut a Groove Clip into slices. Place the now time at the clip’s beginning, hit the Tab key to step through the slices, then type S to split the clip at a slice.
4. Dragging a clip to the timeline creates a tempo map that defines the clip’s tempo. This is great for live recordings, or recording done without a click. The more defined the beat in the clip, the better.
5. If the Smart, Move, or Edit tool (function keys F5-F7) is already selected, hitting its associated Function key toggles between that tool and whichever tool you used last.
6. With virtual instruments and amp sims, to obtain the benefits of recording at high sample rates in 44.1 and 48 kHz projects (e.g., eliminate foldover distortion from harmonics higher than the clock frequency), enable Upsampling.
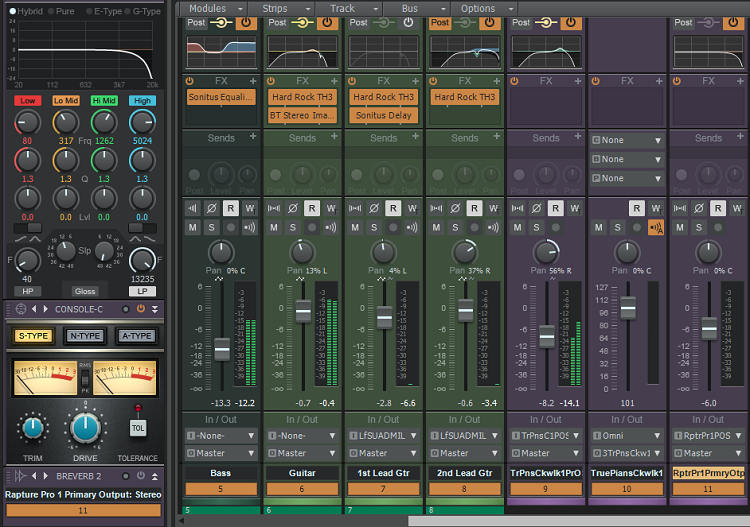
7. Cakewalk can load a default set of ProChannel modules automatically whenever you create a new track. After setting your ProChannel as desired for the default, right-click on any module header and choose “Set Modules as Default for Tracks.”
8. If the Edit Filter was set to Clips prior to selecting a Volume envelope, type = to switch the filter from Clips to the Volume envelope.
9. Quick Grouping works with the Edit Filter. Ctrl-click on the Edit Filter, and all track Edit Filters will show whatever you choose.
10. The “SONAR Resources and Utilities” thread [http://forum.cakewalk.com/SONAR-Resources-and-Utilities-m3392713.aspx] in the old Cakewalk forums contains some excellent user-contributed graphic themes, as well as a plethora of useful accessory programs.
11. To adjust a clip’s Gain envelope, click on the clip with the Smart tool while holding Ctrl, then drag up or down to adjust the envelope.
12. To adjust clip Gain automation without having to enter nodes at the beginning and end of the section you want to edit, set the Edit Filter to Clip Automation > Gain, then select a track. Drag across the timeline with the Move tool to select a region whose gain will be changed in the selected track. Next, click on the clip’s handle anywhere in the region to be edited, hold the mouse button down, and drag up or down to change Gain.
13. The Edit Filter truncates long automation parameter names. To see a readout of the full name, hover your mouse over the Edit Filter label.
14. The Sonitus Surround processor includes a white noise generator—click on the Test Noise button. Run the white noise through different QuadCurve filters, and you’ll hear how the different curves affect audio.
15. To set effects or (synths that can provide effects by accepting internal audio) to receive MIDI input, choose Enable MIDI Input from the VST 2 or VST 3 drop-down menu in the plug-in header. If the effect can respond to MIDI, this will expose an available input to a MIDI channel, so set the channel’s output field to the instrument input.
16. The Step Sequencer’s Probability option adds cool, random variations. This is excellent for percussion parts.
17. To adjust MIDI Velocity values ratiometrically, select the velocities you want to edit in the Piano Roll View with the Smart tool. Right-click and drag around the velocities you want to edit, hover the cursor over any velocity value’s peak so the cursor turns into an up/down arrow, and then, while holding shift, click and drag up or down.
18. To dock more than one of the same view, use the Lock function. For example you can dock the PRV, but if you right-click on its dock tab, then choose Lock Contents, that view will remain in the dock. Now when you double-click on another MIDI clip, it will also dock but have its own tab.
19. To step through the tabs in the Dock, hold down Alt+Ctrl and use the left/right arrow keys.
20. To zoom the entire project in or out horizontally to fit within the Track View, double-click with the magnifying glass in the time ruler’s top half.